Accurate accounting is the backbone of any successful business. General Ledger is a collection of all the financial activity of the company, it contains accounting information related to a company's assets, liabilities, revenues, and expenses. Integrating the General Ledger with an external accounting software such as QuickBooks is crucial and makes it easy for retailers to stay on top of their financials. This reduces the need for double-entry bookkeeping method, where each entry requires a debit and a credit. Once the accounts are integrated, the daily transactions of your Epicor Retail system will be posted in the QuickBooks chart of accounts.
In this article, we will cover:
- QuickBooks Integration
- Viewing QuickBooks Sync Alerts
- Store Cross Reference
- GL Cross Reference
- Disconnecting QuickBooks Integration
QuickBooks Integration
From the main menu, select Utilities > Integrations.
Select QuickBooks Integration.
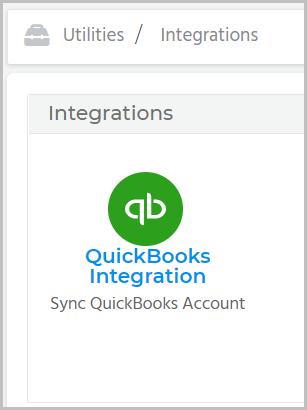
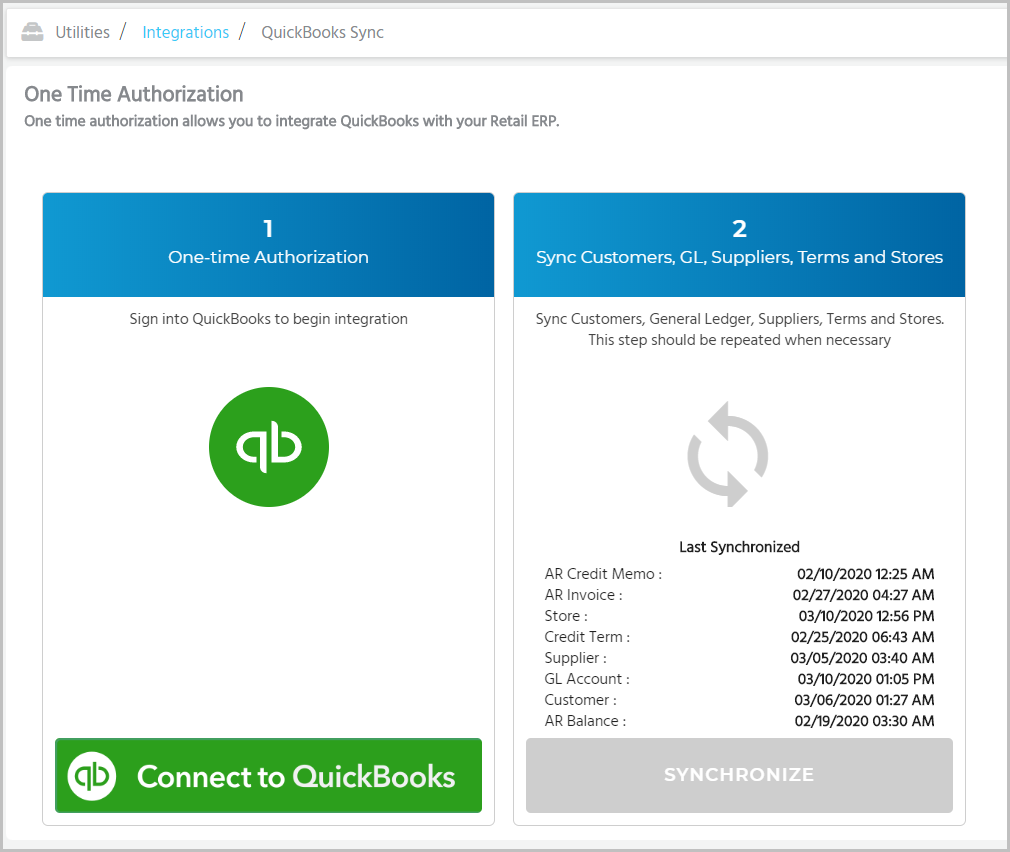
You'll need to sign into QuickBooks to begin the integration process. This one-time authorization allows you to integrate QuickBooks with your retail application.
Select Connect to QuickBooks.
This will open the QuickBooks App Store page.
Enter your Intuit credentials.
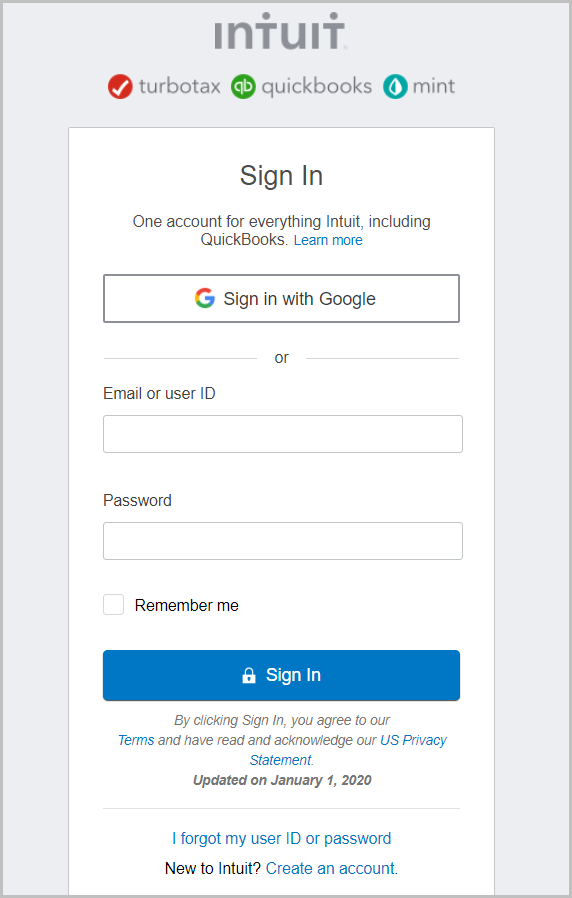
After you select Sign In, you'll need to verify the information. Choose one of the options to receive the verification code and select Continue.
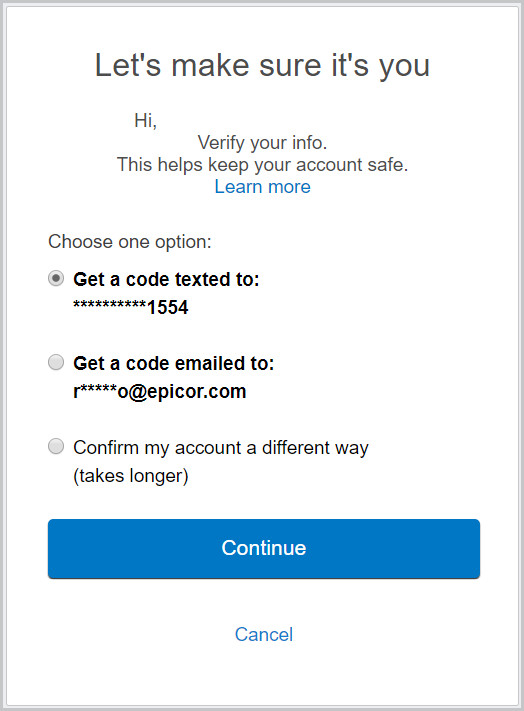
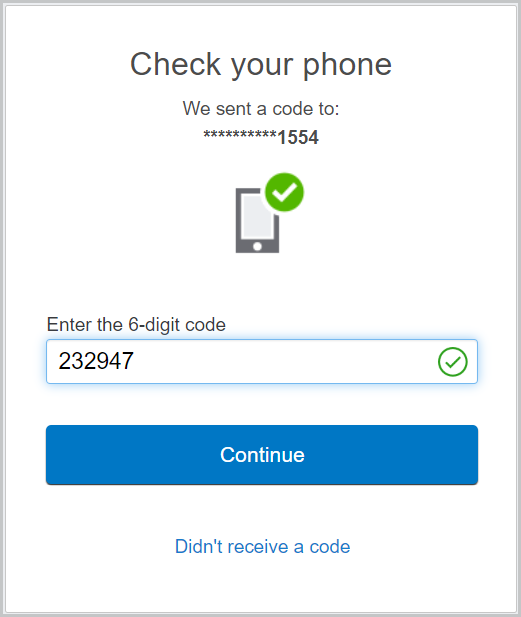
Enter the 6-digit code and select Continue.
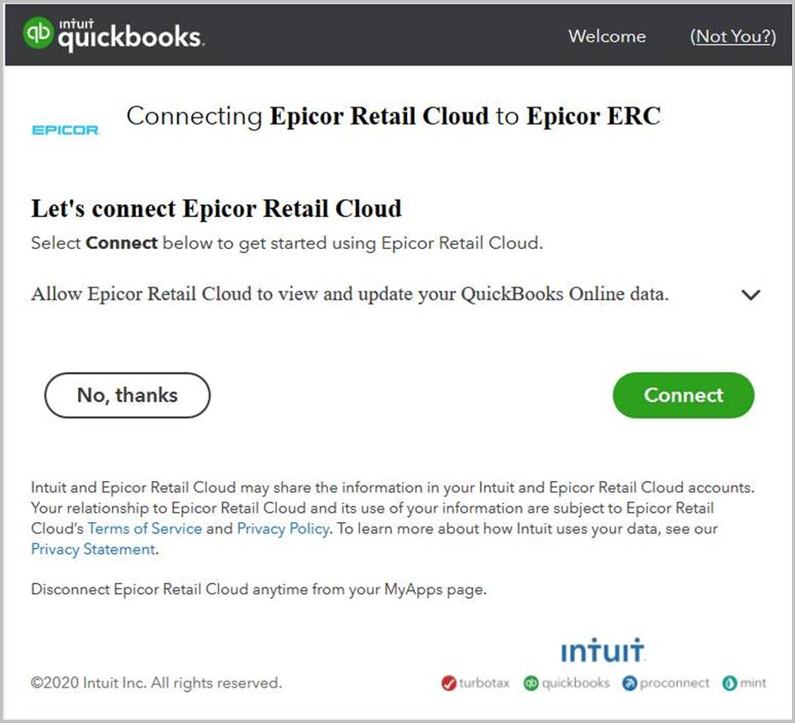
Select Connect. This will allow Epicor Retail Cloud to view and update your QuickBooks online data.
You can select  to view the data sharing policy.
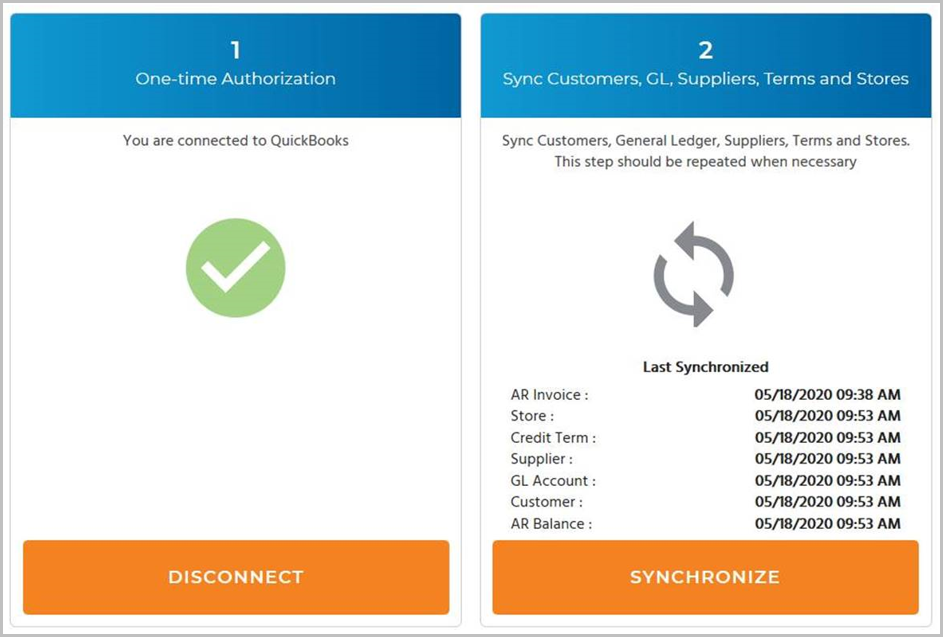
Now, in your retail application, select SYNCHRONIZE to sync your company's general ledger, suppliers, terms, and stores with QuickBooks. You can skip this step if you want the synchronization to start from the date you set in the beginning of the integration process, and you can view the details of the last synchronization here.
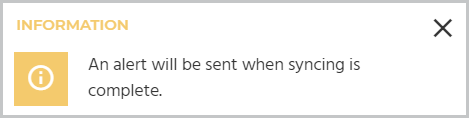
If you've selected SYNCHRONIZE, you will receive a message stating that an alert will be sent to you when the syncing is complete.
Viewing QuickBooks Sync Alerts
You need to add the following Accounting related alerts to at least one user - Accounting Data Sync/Passoff, GL Cross Reference Setup Incomplete, and GL Adjustment Entry Created. Review the document titled Setting Up and Using Alerts to learn about configuring them.
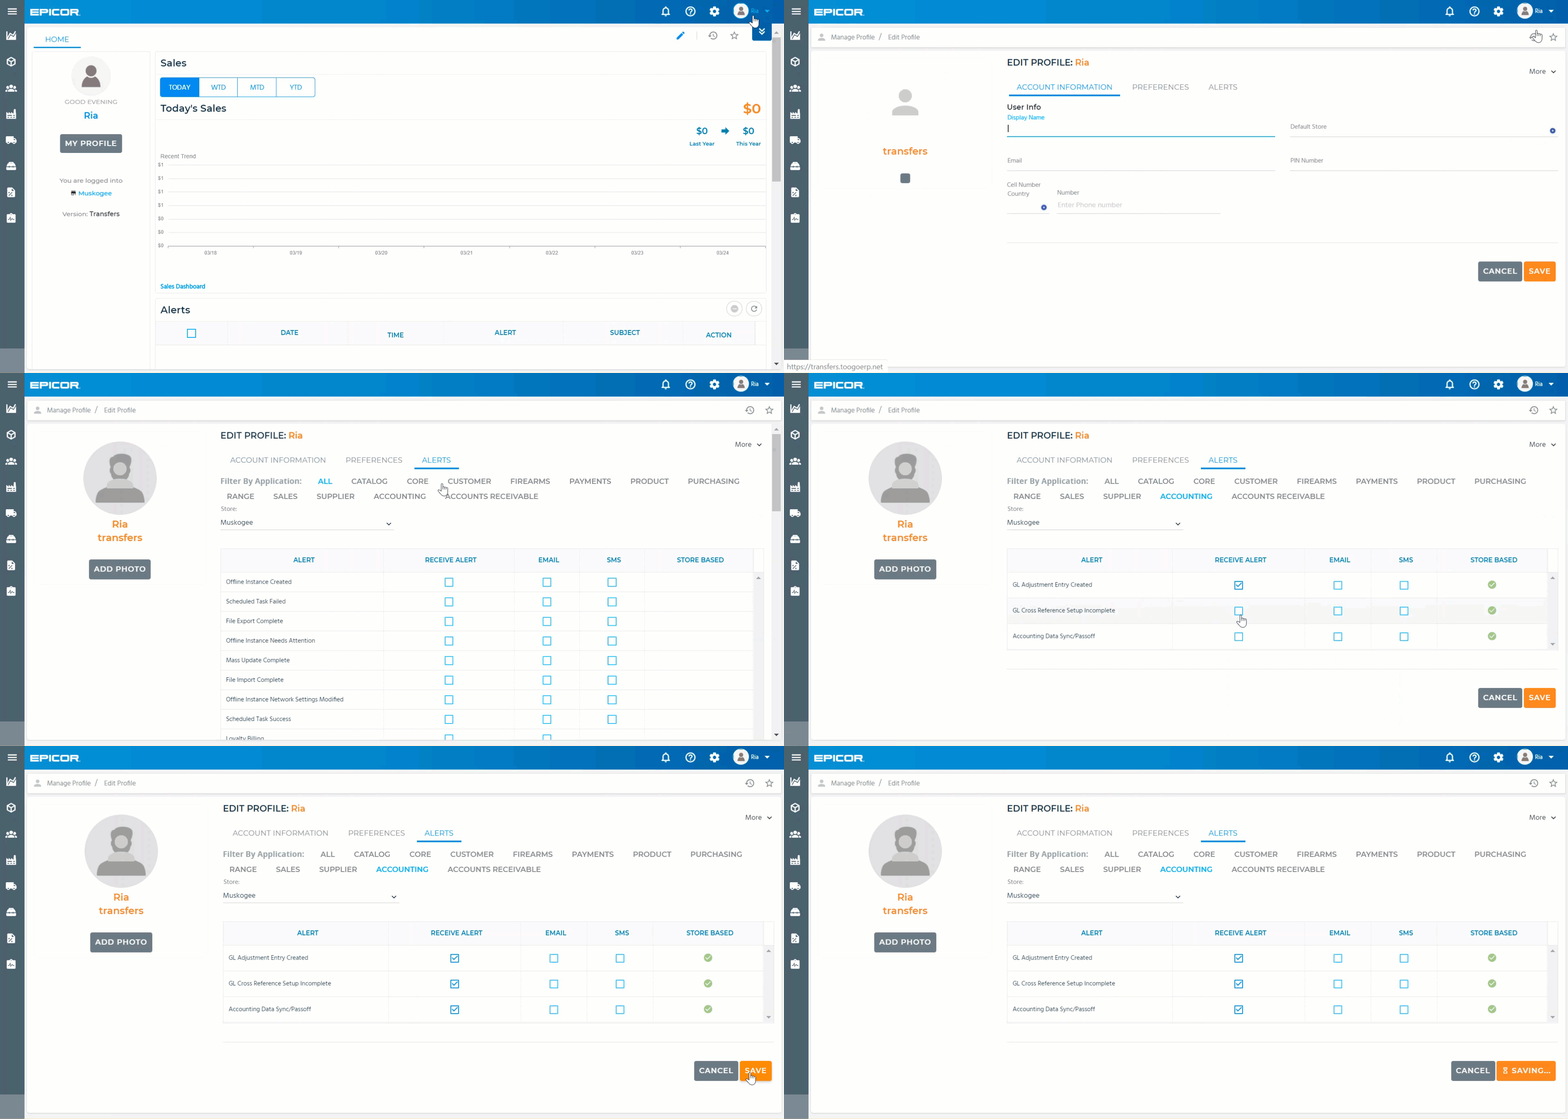
To check the alert, select  on the top right corner of your screen.
In the Alerts Viewer, you'll see the QuickBooks sync status update.
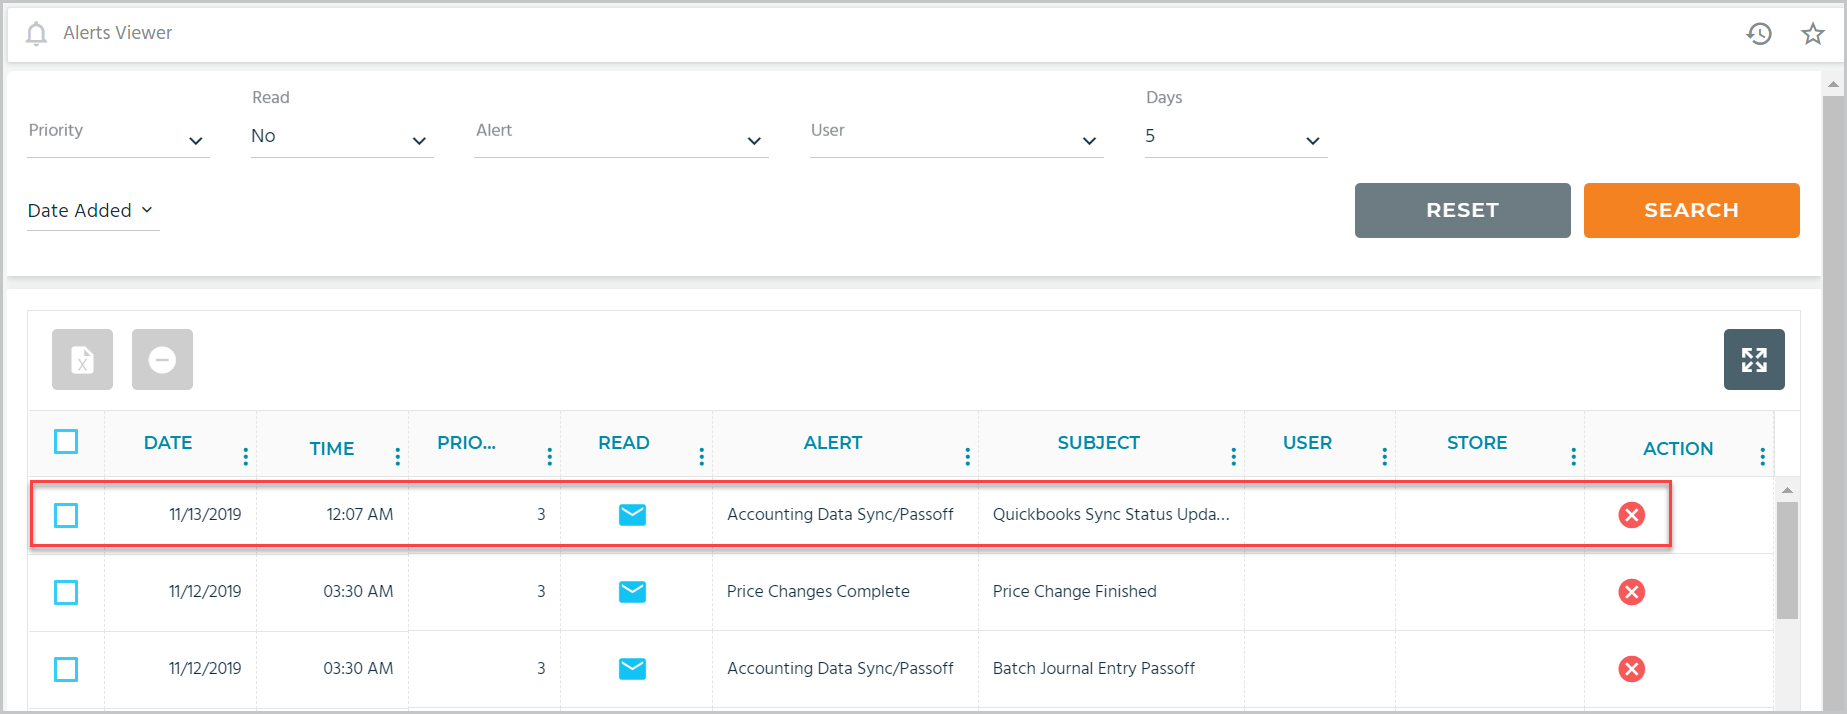
Select  to read the alert.
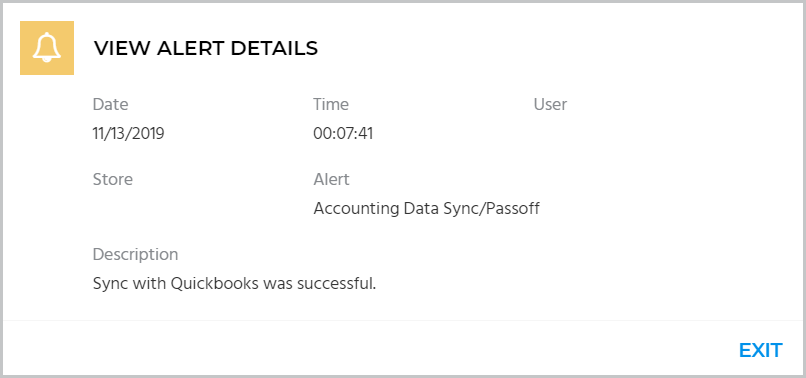
This alert validates that you've successfully synchronized Propello and QuickBooks!
Store Cross Reference
Once the synchronization is complete, you will need to set up your store(s) with QuickBooks and complete the Store Cross Reference.
You'll first need to add the store/location in QuickBooks and then link it with your store in Propello.
Use the following link to sign into QuickBooks: https://developer.intuit.com/app/developer/homepage
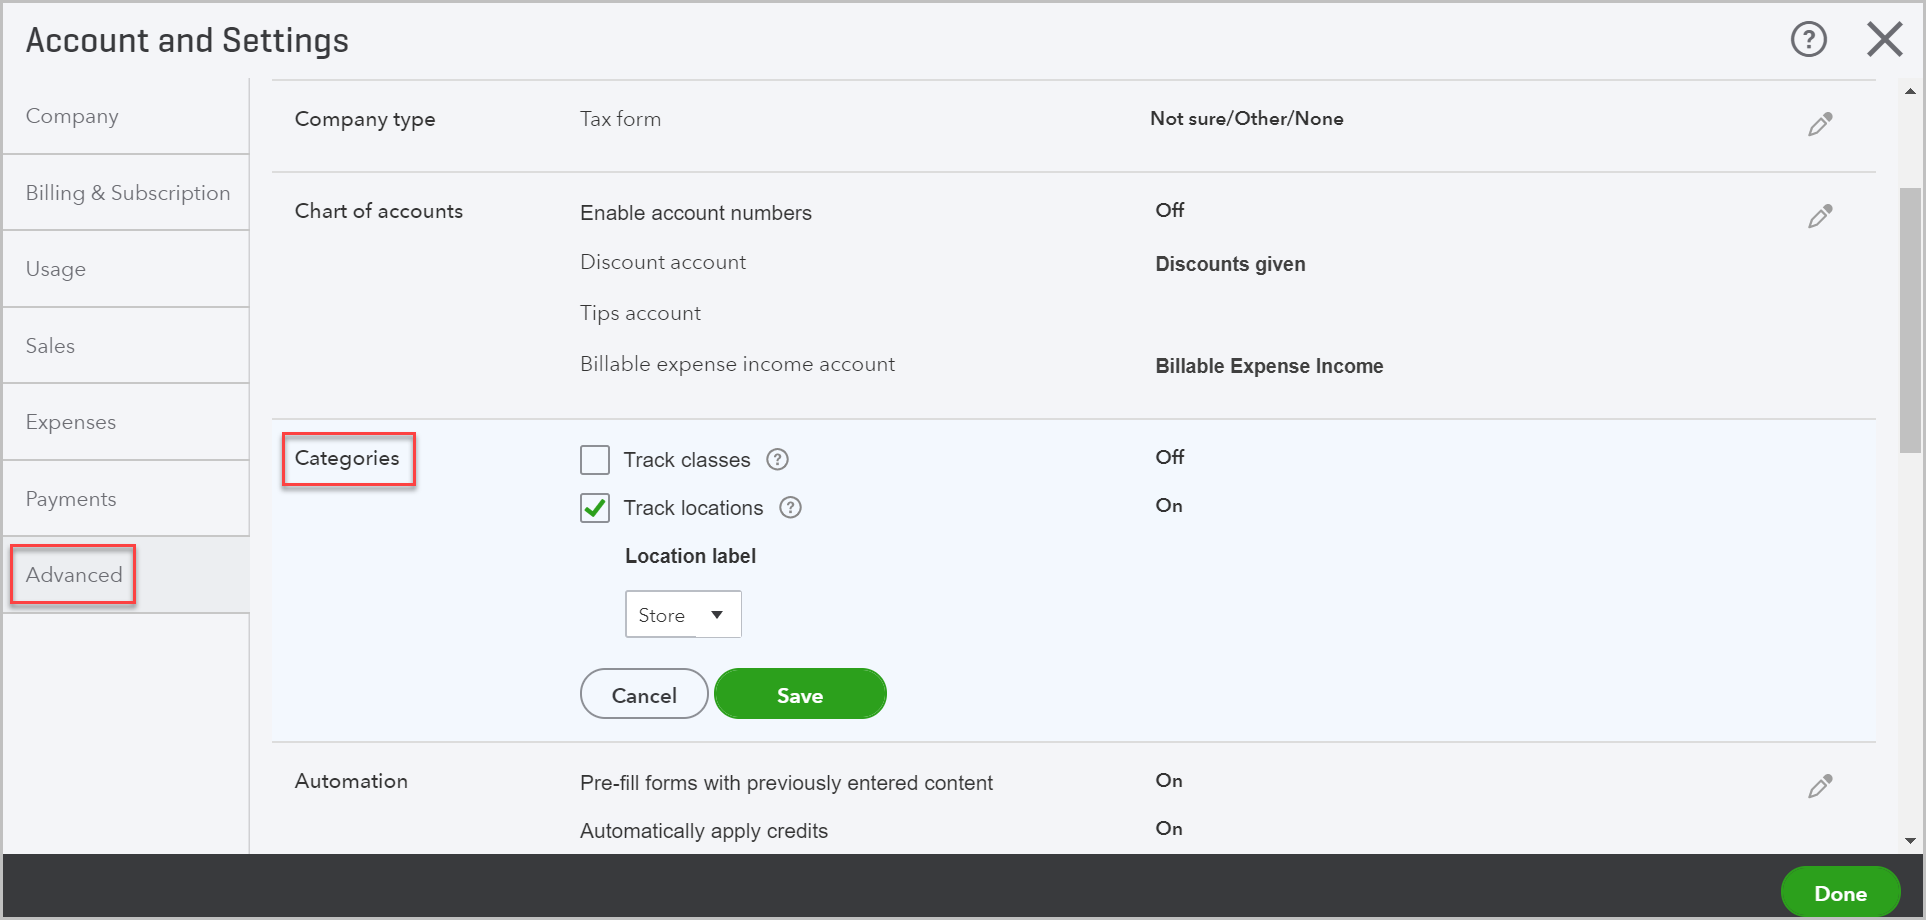
Select the Settings icon on the top right and then select Account and settings.
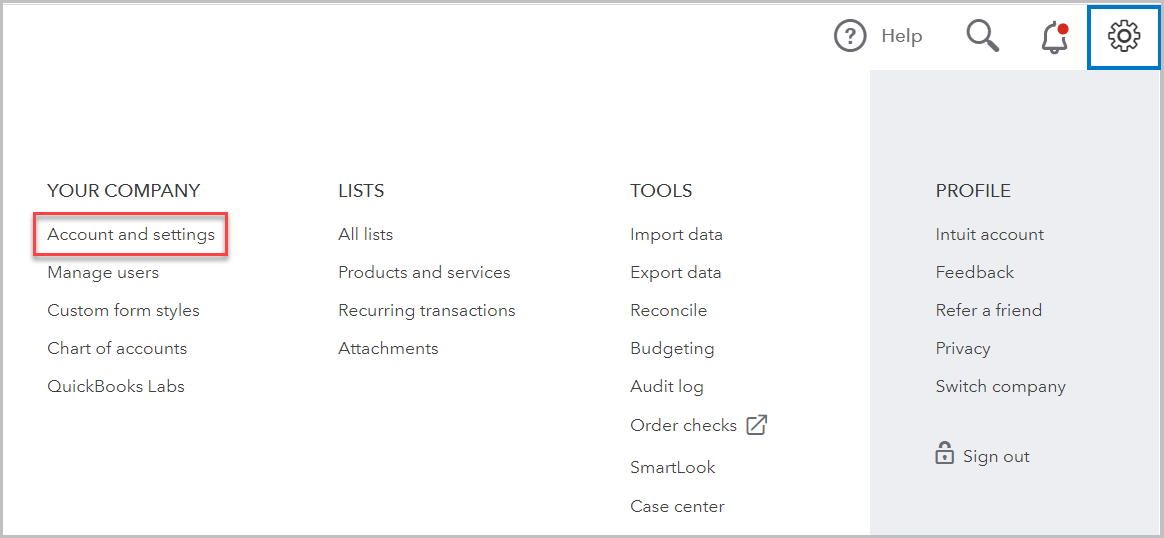
In the Advanced section, check the Track locations box, select the Location label from the drop-down list, and select Save. You can now select Done at the bottom of the page.
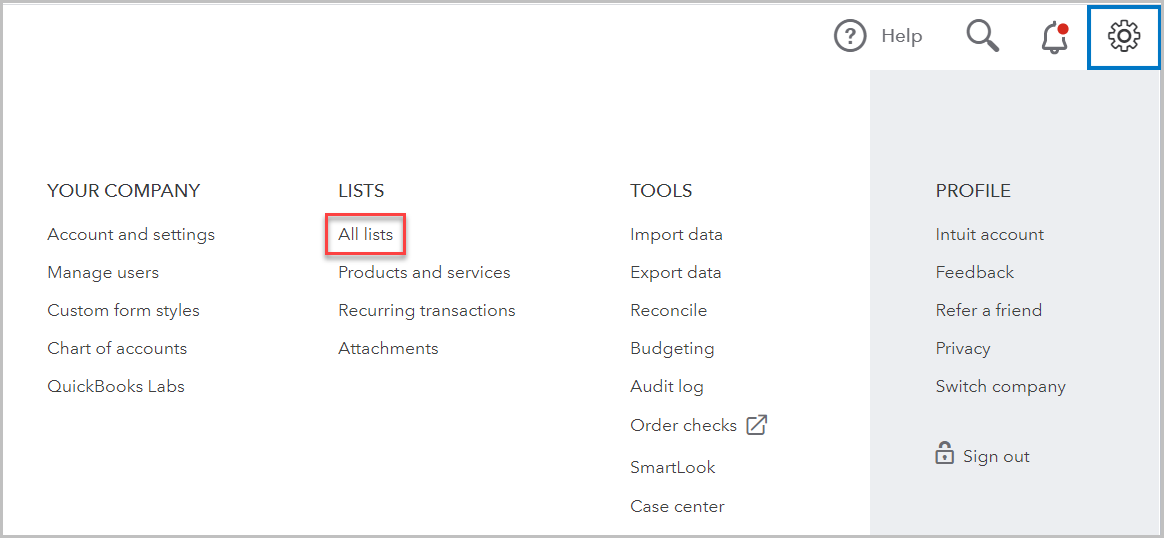
Now, select the Settings icon > All Lists.
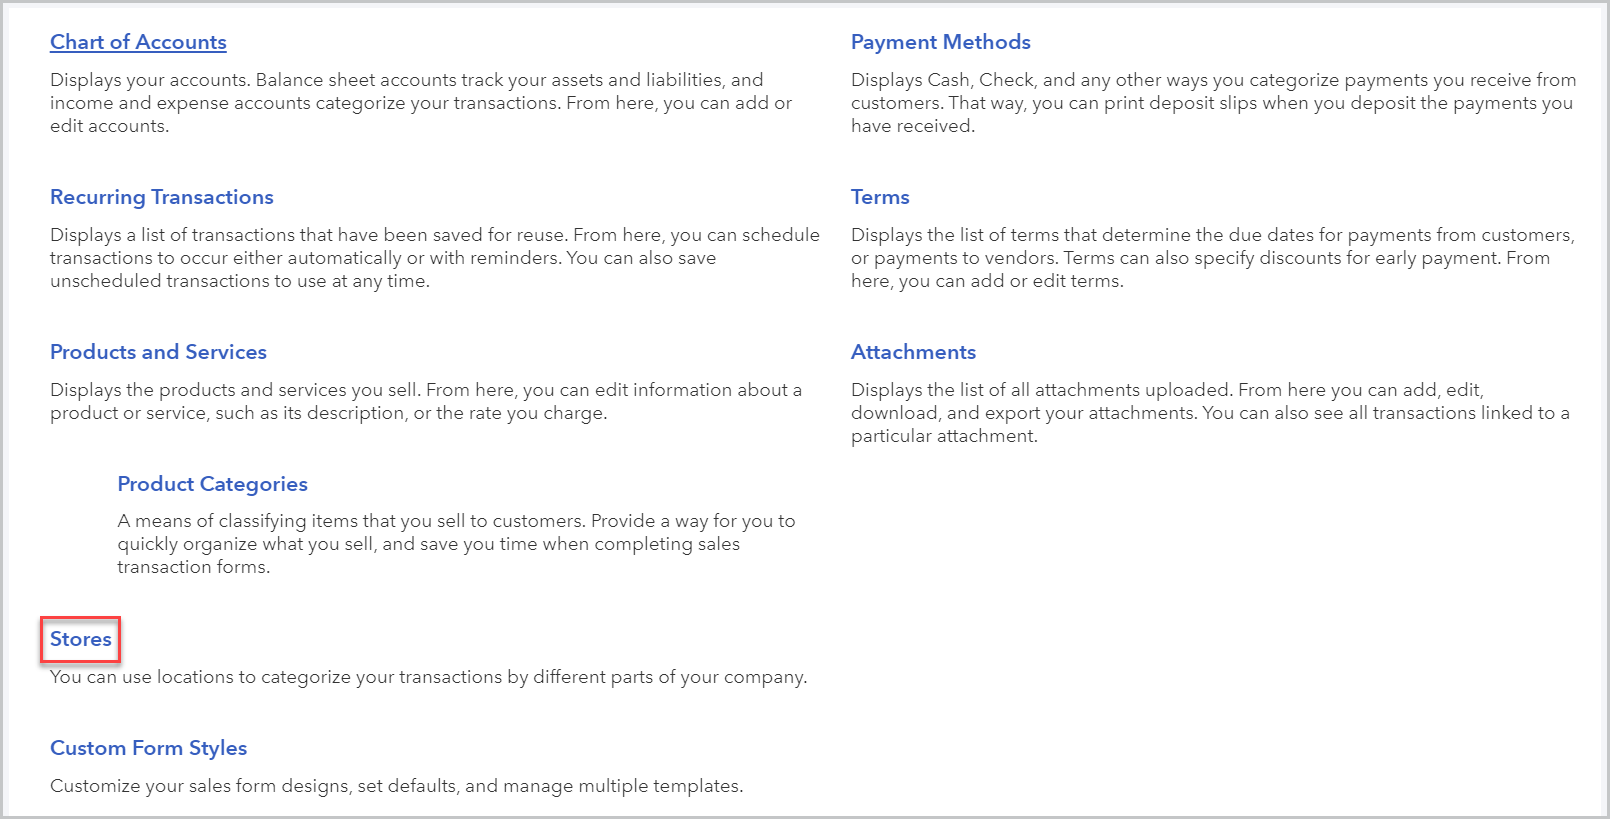
Select Stores (or the Location label you set in the previous step).
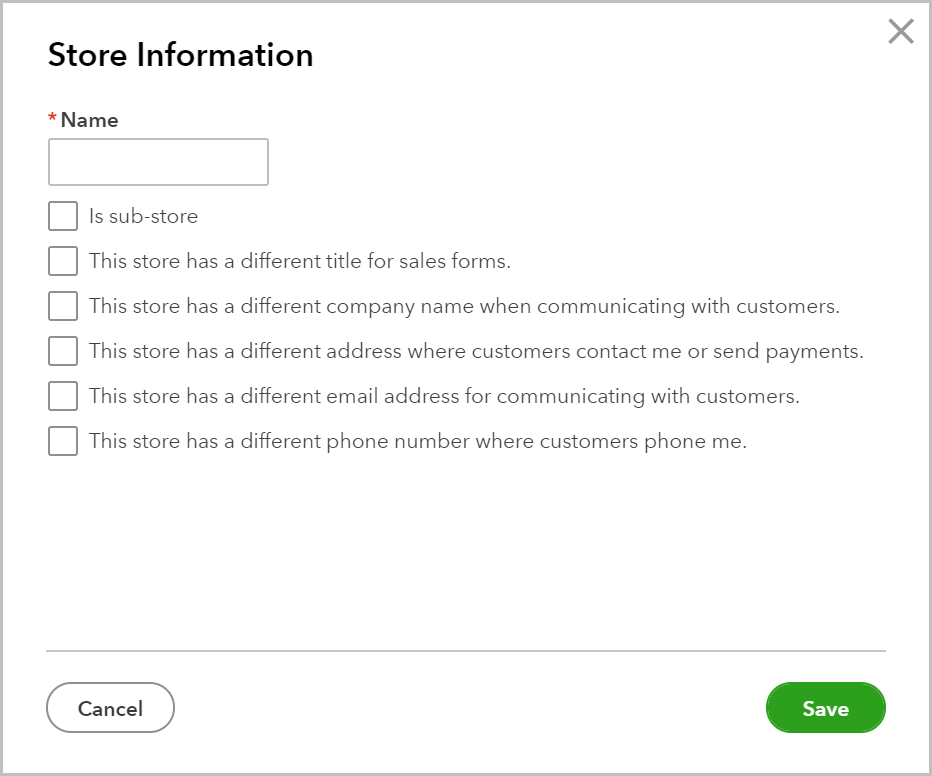
Select  , and in the Store Information pop-up, enter the store name, check the required box(es), and select Save.
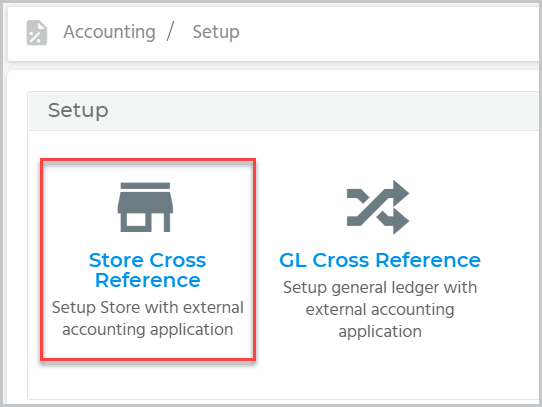
In your retail application, select Accounting > Setup > Store Cross Reference.
Click on the box adjacent to the store you want to reference, and select the QuickBooks location from the drop-down list.
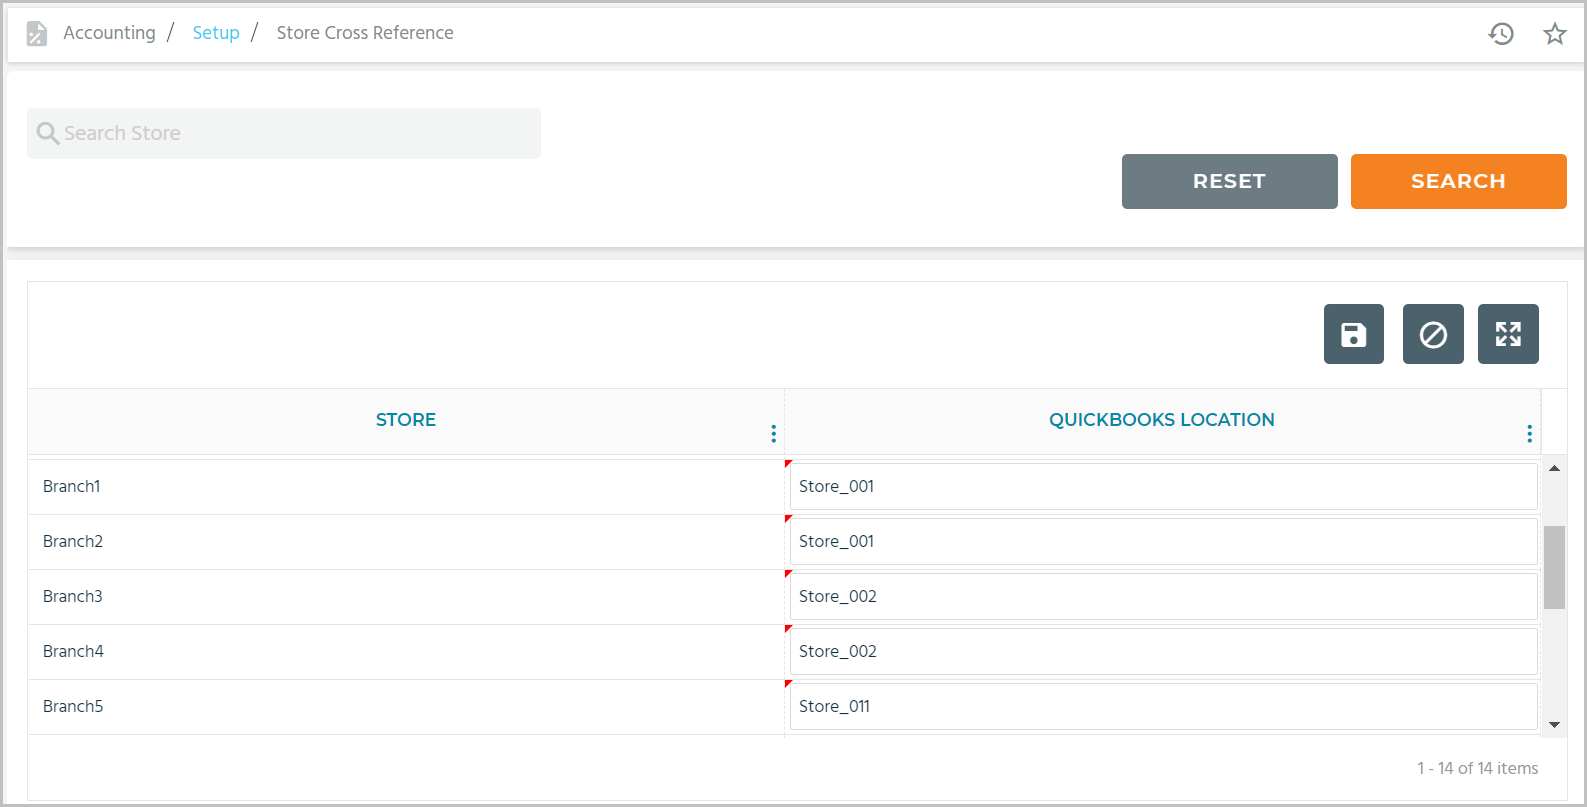
Select the Save button  to save your changes.
GL Cross Reference
You can now set up your general ledger with QuickBooks.
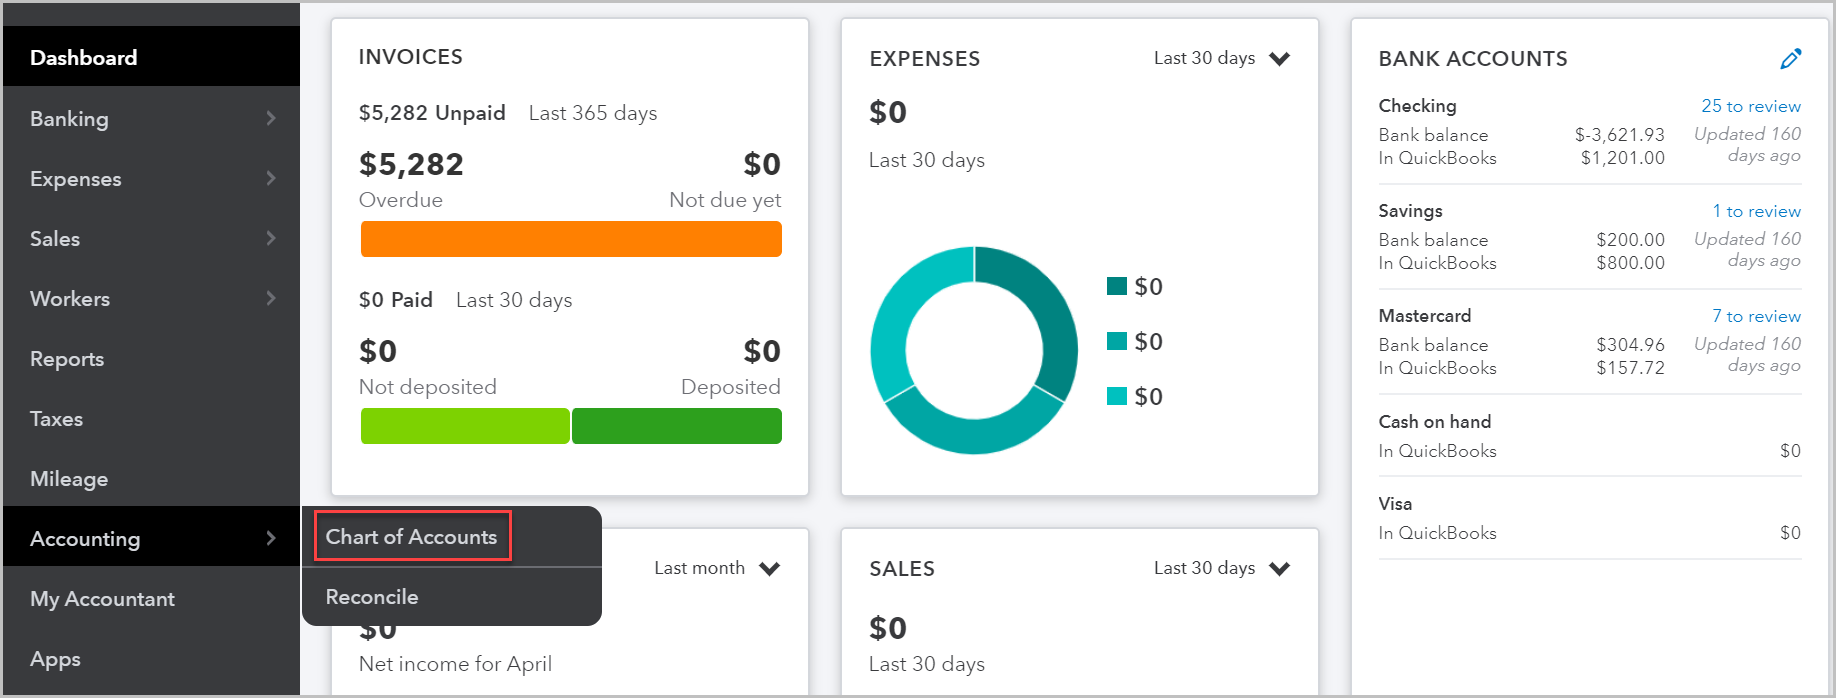
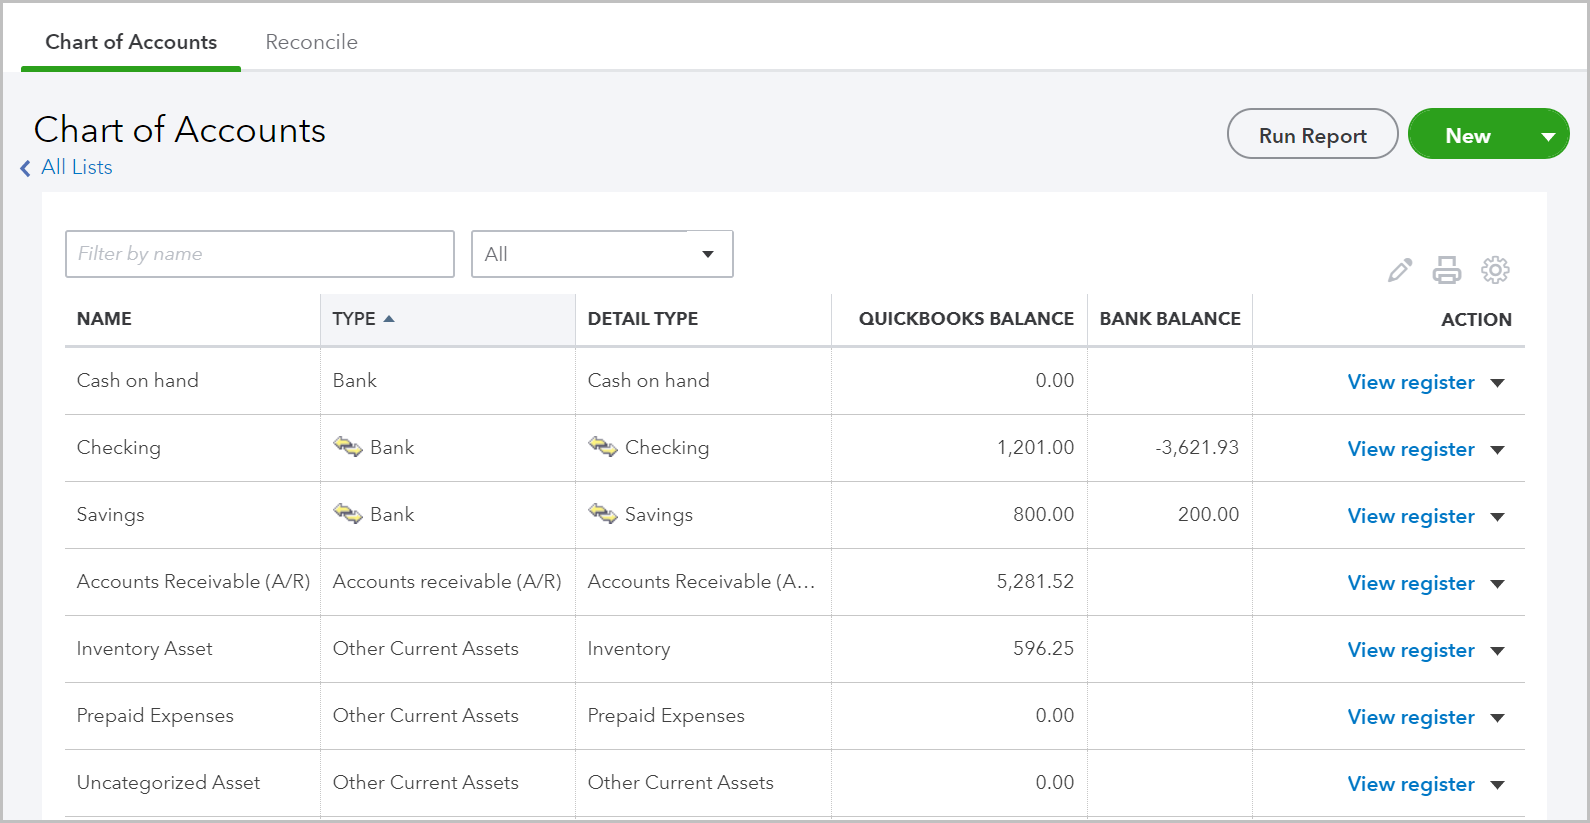
Once you select the company in QuickBooks, select Accounting > Chart of Accounts.
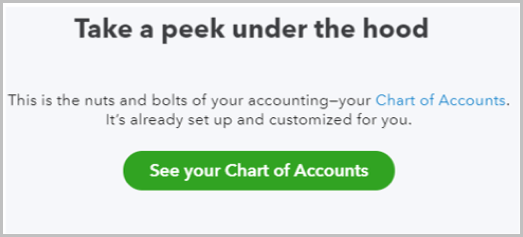
Select See your Chart of Accounts.
Here, you'll see a list of pre-configured accounts, and you can add new accounts as well.
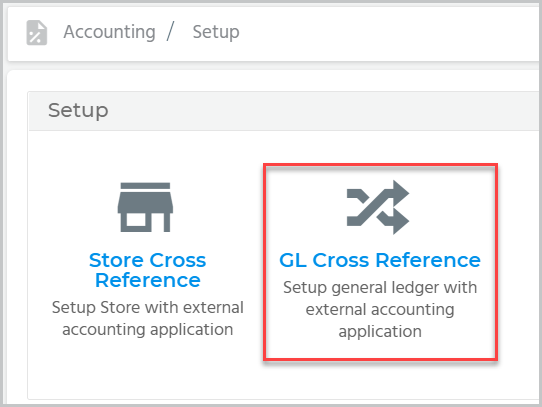
In Epicor Retail Cloud, select Accounting > Setup > GL Cross Reference.
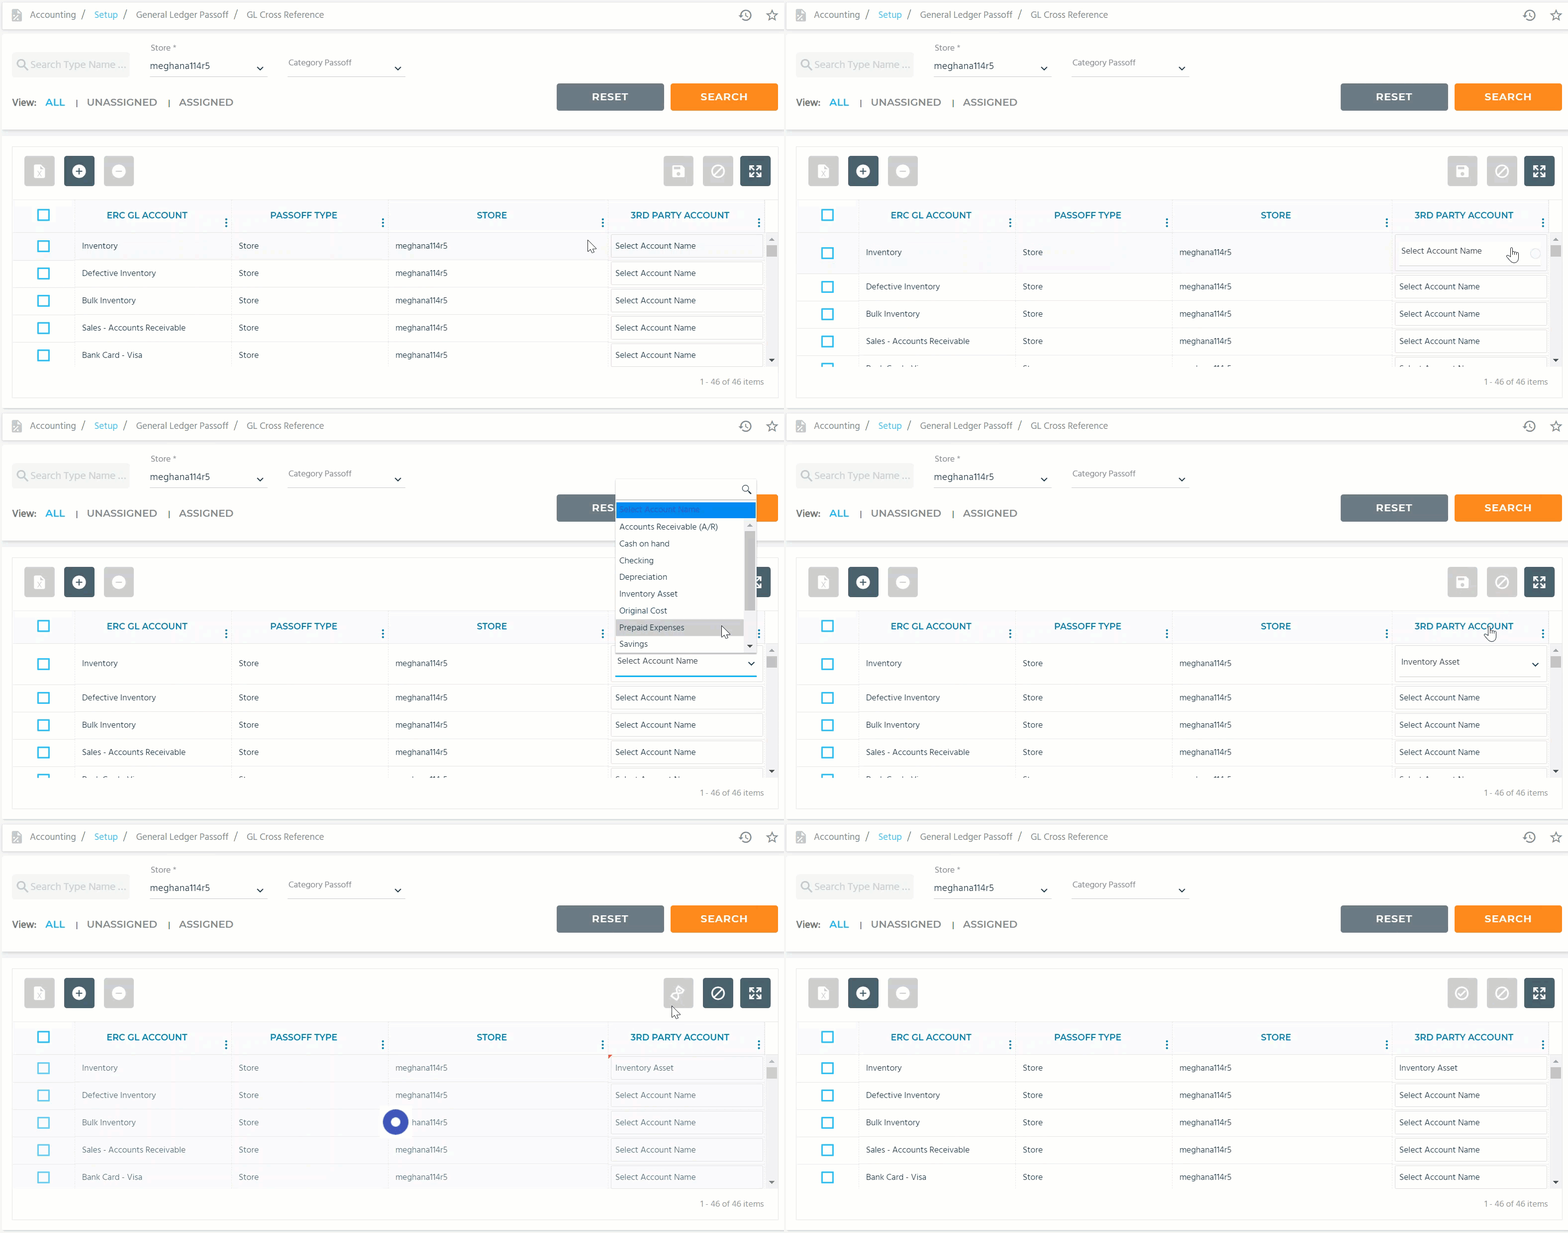
You'll need to map the Propello GL accounts with the QuickBooks accounts for a successful passoff. Click on the 3rd PARTY ACCOUNT box adjacent to the Propello GL account you want to reference and select the QuickBooks account name from the drop-down list. Select the Save button  .
.
Review the article titled Using the GL Cross Reference to learn more about it.
Disconnecting QuickBooks Integration
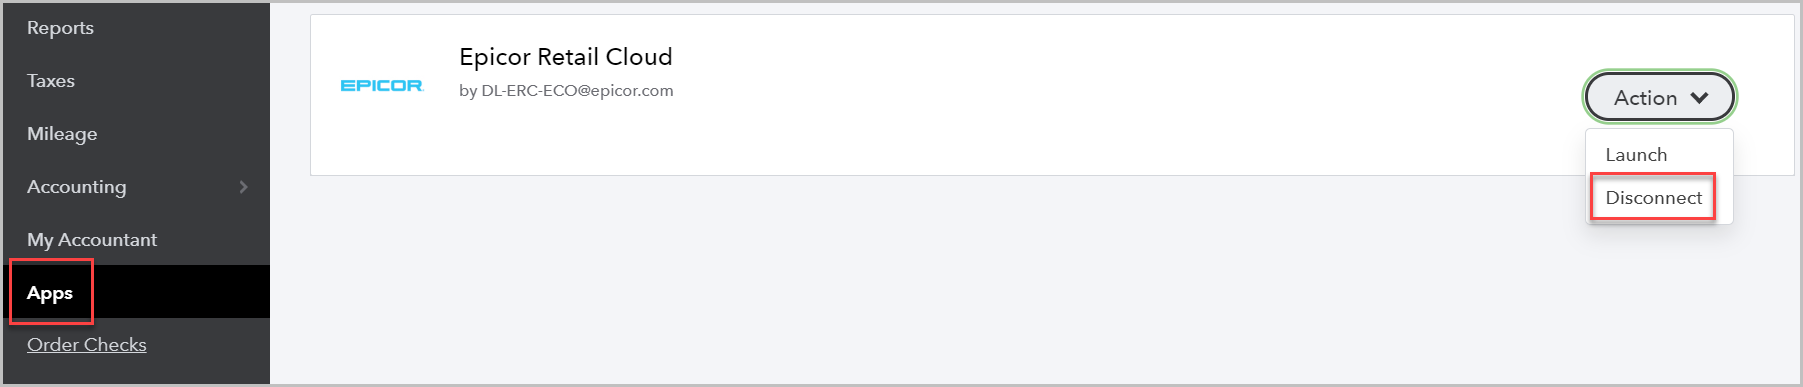
To disconnect the online integration, in QuickBooks, select Apps.
In the Action drop-down menu adjacent to Epicor Retail Cloud, select Disconnect.
In the next pop-up, choose your option to the given questions and then select Confirm Disconnect.
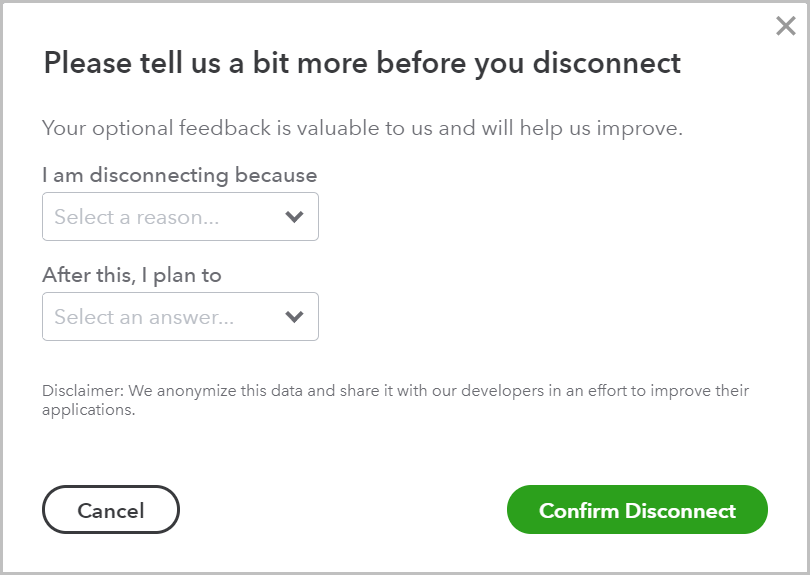
The QuickBooks online integration is now disconnected.
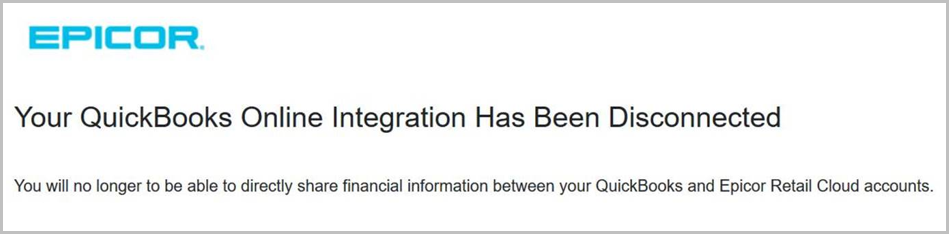
You can also disconnect the integration from your retail application - Utilities > Integrations > QuickBooks Integration > Disconnect.